Local Installation / Hosting
Estimated reading time: 10 minutes
Prerequisites: Internet connectivity, Browser (Firefox, Chrome or Chromium), Google Account, Docker installation
The Test-Editor is designed to be hosted such that users only need a browser to make use of the Test-Editor. Since no free hosting is currently available, the Test-Editor can be downloaded to your local machine and will be hosted there. Doing this will require to execute some shell commands on a linux machine and will therefor not be accessible to everyone. Please accept our apologies for that! Your IT-department will most likely be able to help you out though. And yes, there might even be some people out there who will be able to follow the installation description below.
Prerequisites
In order to get the examples running locally without using hosted services, you need to have a working docker installation including docker-compose. Please take a look at https://docs.docker.com/compose/install/ to get this installed quickly.
Get a copy of https://github.com/test-editor/tutorials (either by downloading and unpacking the zip or by cloning the repo).
Download and run
Open a shell in the respective folder and use the following commands:
cd heroes                          # switch to the heroes tutorial
bash run-hero-create-specification # bring up the first tutorial
Now is the time to grab a coffee. I’m afraid this will take a while.
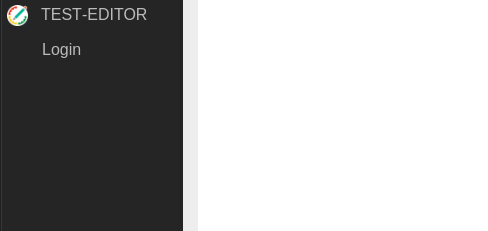
The necessary docker images are fetched from docker-hub which will take its time, depending on your connectivity. As soon as the images are fully downloaded and extracted the containers are started. Once the containers are ready, the browser is started automatically and you will be presented with the Test-Editor login screen. If something unexpected happens or the whole process is interrupted, it might help to just run bash run-hero-create-specification again. Already downloaded elements won’t be downloaded again.
The Test-Editor consists of the web ui and a couple of service backends that do the heavy lifting for the ui.
Login

You will be asked to login with a Google Account. This will redirect you to Google where you are asked to login and to allow the Test-Editor application to use your account id. The Test-Editor will never know your credentials. Google provides the Test-Editor with an id (no credentials), that’s all.
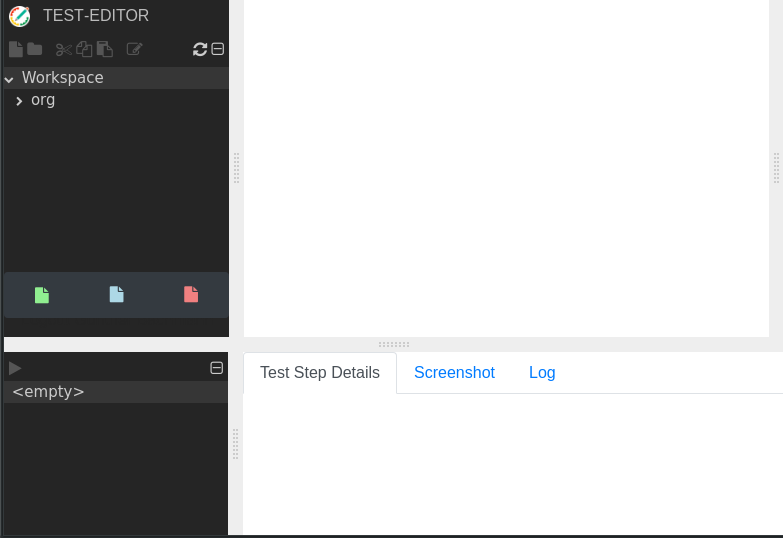
Once logged in, you will be redirected to your locally running instance of the test-editor again. Now the preconfigured tutorial workspace is loaded and you can start using the Test-Editor!

That’s it
Keep in mind that the initial start of tests will again take some time, since a lot of software libraries that are not prepackaged need to be downloaded from the net. These will however be cached such that the next execution will be much quicker.
In order to stop your locally running instance of the Test-Editor, please execute bash stop-tutorial.
The images and containers constructed will be kept, so that the next time the Test-Editor is started, the command
bash run-hero-create-specification will be much faster, using the already downloaded images and constructed containers.
Keep in mind that all files you create within the Test-Editor will live within the respective docker container. Removing the containers will remove your files, too.
If you want to keep the files you write within this locally installed Test-Editor please run bash save-repo which will create an archive with your changes.
Stopping / Starting tutorials
If you have started the first tutorial with the command bash run-hero-create-specification, you should stop the tutorial before starting the next one.
Therefore you should first execute bash stop-tutorial on the terminal in the respective heroes folder mentioned above.
cd heroes          # switch to the heroes tutorial
bash stop-tutorial # stop the first brought up tutorial
After this step you can start a fresh, clean version of the next tutorial (e.g. creating a testcase) by typing the following on your terminal
bash run-hero-create-testcase
You can find all tutorials and a brief desription here